
After the previous 2 steps, here is the third step!
Where you will manage the general information found in your proposal.
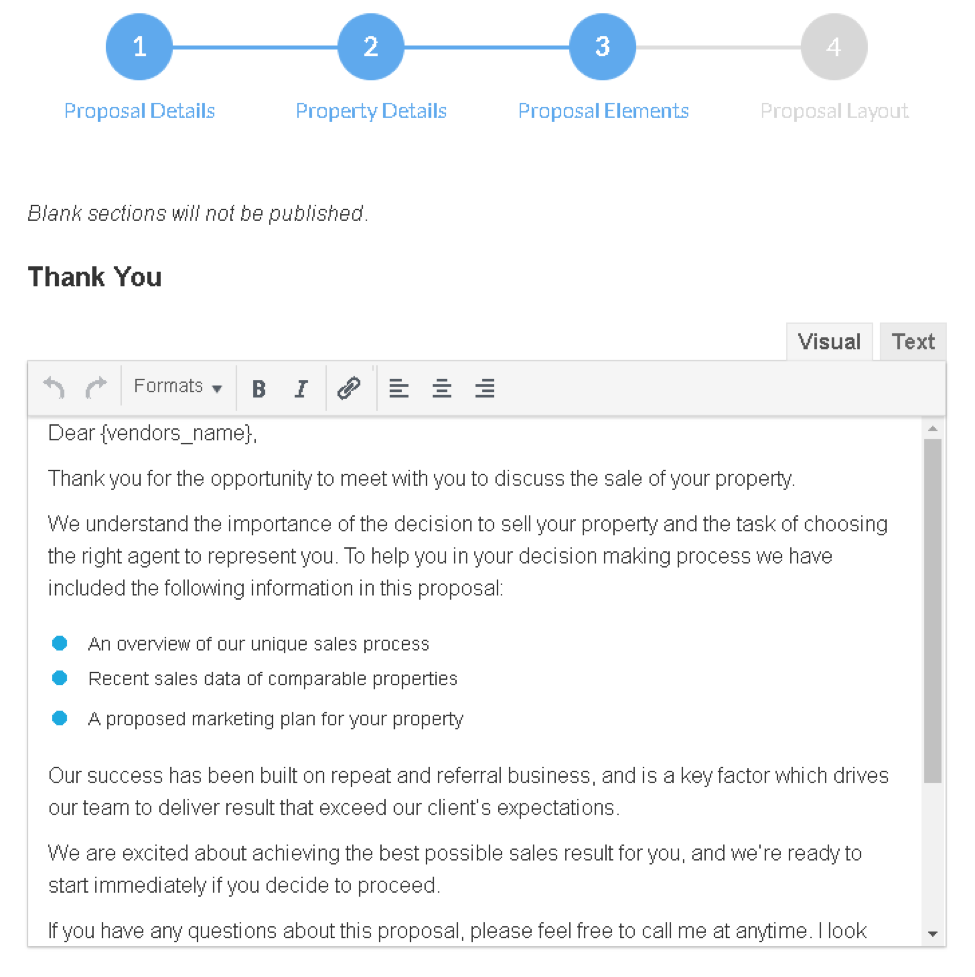
The “Thank you” section is the welcome text your potential clients will see when they open the proposal. This is part where you can personalise the proposal and address it specifically to your client. By default, your client’s name(s) appears here, and in most instances, users aren’t required to update this section.
Again this is another example of default content, and in most instances, you won’t need to update this per proposal. However, if you do decide to update content here, then it will only affect this proposal and no other proposals in this account.

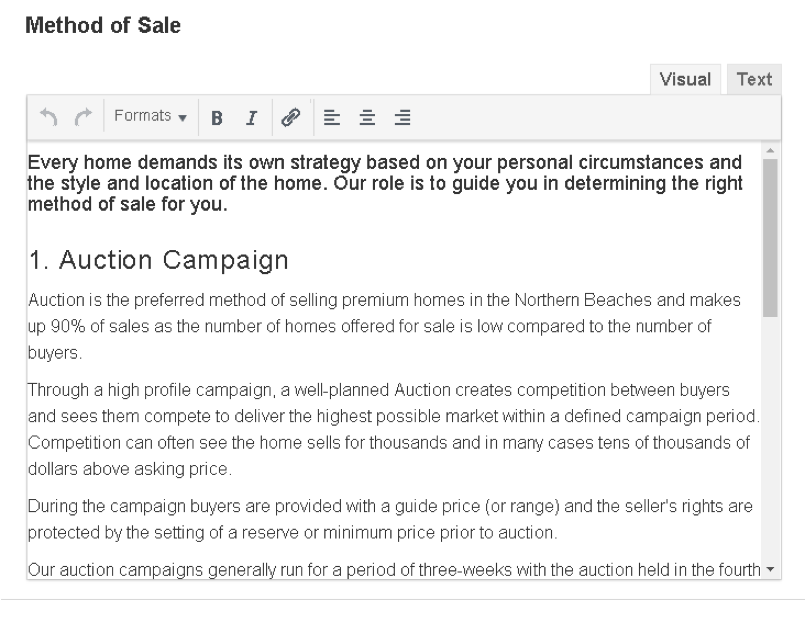
The method of sale content is global, and the option you selected at Step 1 will appear as the default option on the front of the proposal.
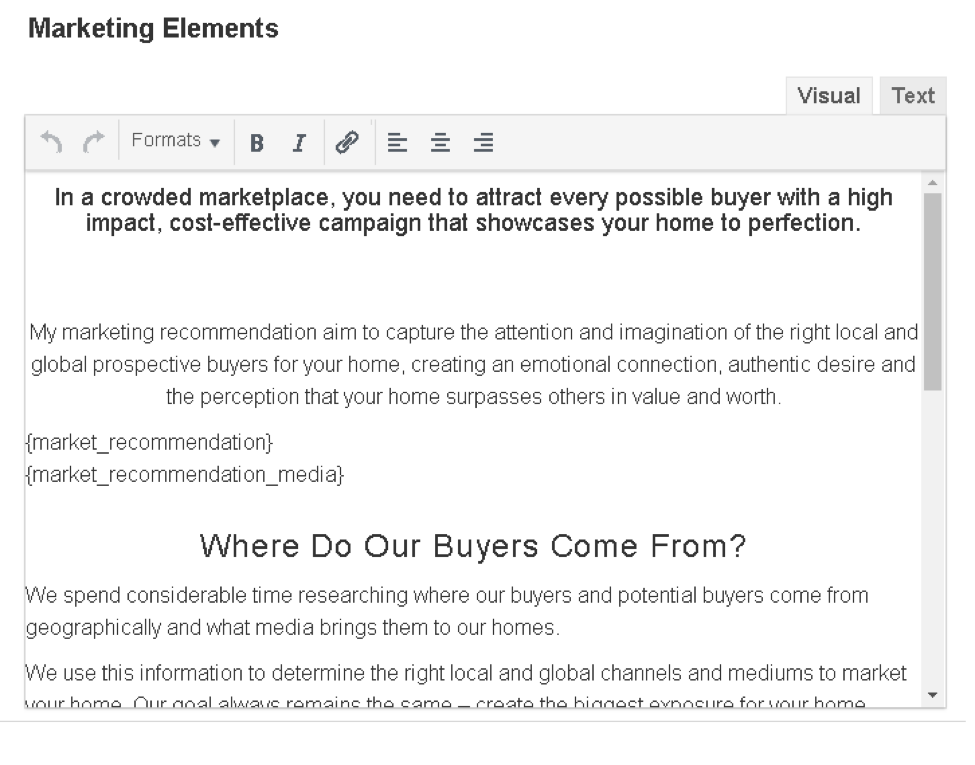
Further default content that shouldn’t require adjustment.
Choose your testimonials by ticking the appropriate testimonials and similarly do the same for references. To manage these, simply select the “settings” tab in the sidebar where you can add/edit testimonials.
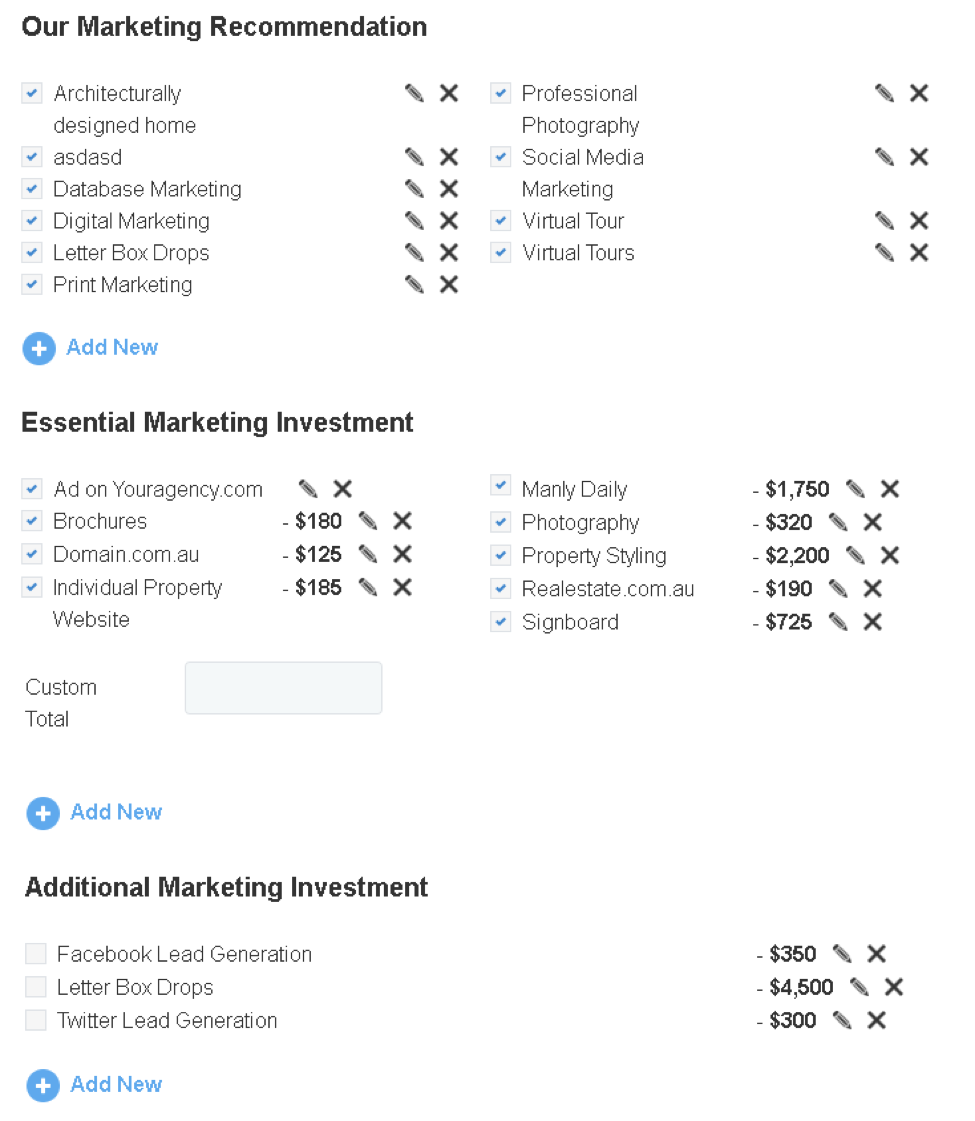
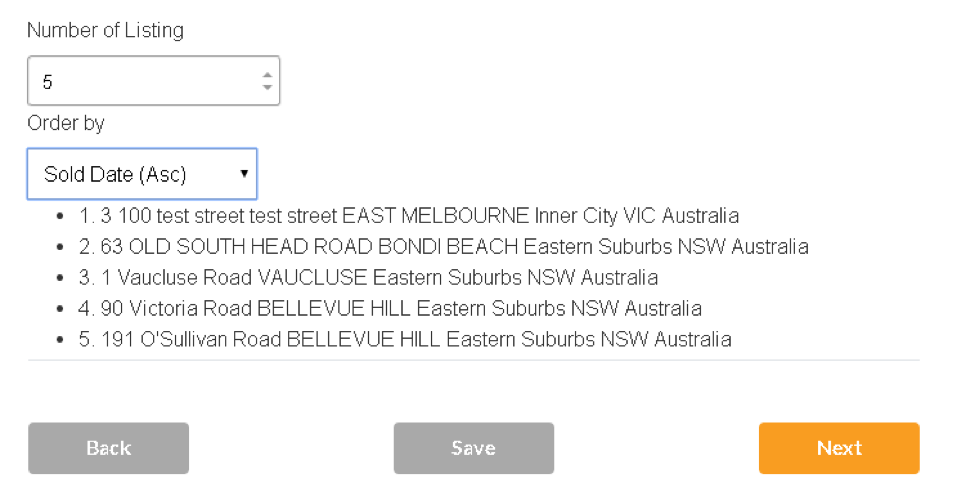
The three next sections are based around marketing recommendations for the property. First, the overall marketing recommendations. Second, we have the “Essential Marketing Investment” section and the costs associated with us plus the “Additional Marketing Investment” section where clients can select the options which are most relevant to them. Last, the section that involves the number of sold listings you would like to appear on your proposal and also the order of those listings.
After you select next, you will go to the last Step 4.