
With the introduction of the Grouping capability for an office, we have also introduced a new feature to allow a team member to be allocated to multiple groups within the office.
To assign a team member to a group, you will either need to log in as a Group admin or an Office admin. Group admins can only add a team member to their own group, whereas an Office admin can add a team member to any group.
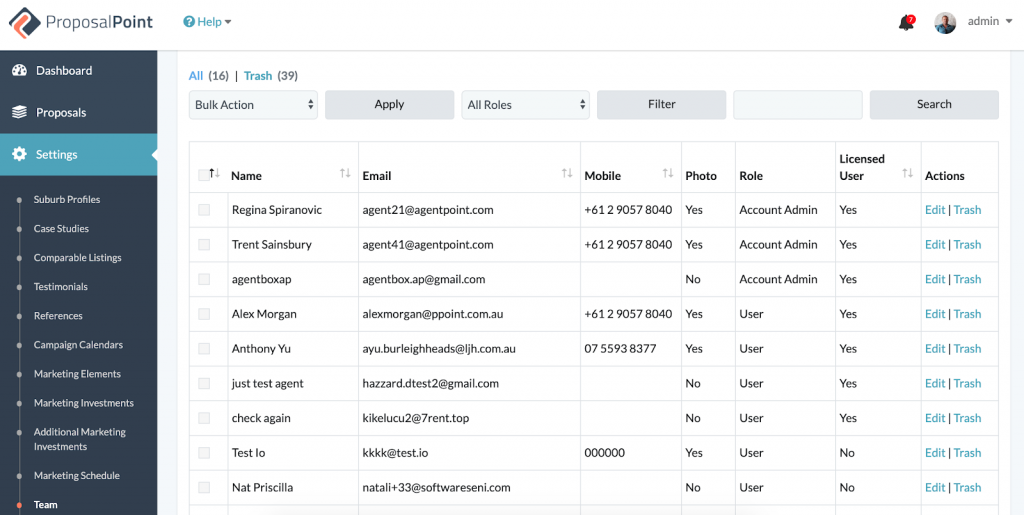
Once logged in, you will need to go into the Team section under Settings and click to edit a team member as shown below.
Once you are in the editing mode, you can select the group you would like to allocate the team member to, and click the Add button. If you would like to allocate them to multiple groups, then you can click on the Group dropdown again to select another group and click on the Add button. Once done, do not forget to save the changes by clicking the Save button at the bottom of the page.
